Knowing what motherboard you have is essential when upgrading your PC, updating drivers, or troubleshooting hardware issues. It acts as the foundation of your system, connecting every major component together.
Many users aren’t sure where to find this information, especially without opening their computer. In this guide, you’ll learn simple and reliable ways to check what motherboard you have using Windows and other easy methods.
What Is a Motherboard and Why It Matters
The motherboard is the main circuit board of your computer, responsible for connecting and allowing communication between all major components. Your processor (CPU), memory (RAM), storage drives, graphics card, and even external ports all rely on the motherboard to work together smoothly. Without it, none of your hardware would function as a complete system.
You’ll need to know what motherboard you have since not all components are compatible with each other. Different motherboards can only use certain generations of CPU, memory type, and storage interface, among other factors. If you’re going to upgrade the processor, add more memory or add faster storage, your motherboard’s specifications determine what can and can’t be done.
Motherboard details are also important for updating the BIOS and drivers. BIOS updates are not universal, and wrong bios update might result in completely destroying the system. Motherboard chipset drivers, audio, and network drivers will need to match the model of your motherboard specifically to work right and be stable.
Whether you are plagued by boot up failures, an application refusing to launch or a hardware malfunction, knowing your motherboard model is a must as it allows you to find appropriate documentation and all the latest support pages, drivers and BIOS updates for your hardware.
How To Check Specs of Your Motherboard
Knowing your motherboard means you’ll have complete control over your machine’s upkeep, upgrades and long-term reliability. Here are some of the best methods you can use:
Method 1 (Windows System Information-MSINFO32)
Device Manager is not an ideal place to look for these, and the go-to for finding information on the motherboard is MSINFO32 (System Information).
One of the simplest methods for finding out your motherboard model is using Windows System Information, a built-in program that doesn’t require installation of extra software. It’s a process that works with both Windows 10 and 11, and for most users is the way to go.
To do so, simply press the Windows + R keys on your keyboard to open the Run dialog box. Type msinfo32 and press Enter. This will open the System Information window that provides you with an overview of the devices and components that computer is made up of.
When the window appears, ensure that System Summary is selected on the left. Check in the right pane for:
- BaseBoard Manufacturer.
- BaseBoard Product.
- BaseBoard Version.
BaseBoard Manufacturer and BaseBoard Product typically lists your motherboard maker and model number. Combined, these two fields provide you with the details necessary to properly identify your motherboard.
In some cases, instead of listing the product, “To Be Filled By O.E.M.” may be displayed within BaseBoard Product. This is particularly prevalent in prebuilt systems and laptops. If you do, that’s all right, other options described below in this guide can help you identify the specific model.
This process is fast, safe and effective; it’s also one of the best starting points when you want to check your motherboard detail without opening your gaming PC.
Method 2: Using Command Prompt
Another fast and accurate method to know which motherboard you have is through the Command Prompt. This technique grabs motherboard information directly from the system, and is effective when Windows System Information (see below) doesn’t provide clear results.
To get started, click the Start menu and search for Command Prompt and right click on it to Run as administrator. After the Command Prompt window appears, type this command and then press Enter:
wmic baseboard get product,manufacturer,version,serialnumber
Once you run the command, Windows will present a few important details. The Manufacturer field shows the brand of your motherboard, such as MSI, ASUS or Gigabyte. Product is typically the model number, and Version and SerialNumber provide additional information that may be used for support or warranty purposes.
This approach is particularly useful in that it allows for the information to be displayed immediately without having to wade through any kind of menu.
On some recent Windows versions, however, the WMIC may also be obsolete or lose functionality. If the command doesn’t work for you, either because it came back with no results or because it’s unavailable, don’t fear: there are other solutions to come.
The Command Prompt way is a quick and lightweight method to find the motherboard model for desktops, but it does not read your laptop’s motherboard model in plenty of cases.
Method 3: Checking Your Motherboard via BIOS/UEFI
If you can’t boot the system properly or if you’d like to know your motherboard information at a hardware level, the BIOS/UEFI is there for rescue. The BIOS (or more often these days, UEFI) is firmware built into your motherboard. Yes, knowing your motherboard information can also help you decide which gaming monitor will connect better.
For BIOS/UEFI access, restart your computer and press the key on your keyboard as it appears during start-up. Some common keys include Delete, F2, F10, or F12. These keys are dependent on your motherboard manufacturer. The right key is usually briefly on your screen when the system starts up.
When you’re in the BIOS/UEFI, look for a category or tab named something like System Information, Summary, or Overview. Often times your motherboard manufacturer and model number will be listed right on the main screen. Some interfaces additionally expose the BIOS version, and details of your chipset hardware which can be useful for updating firmware.
The best thing about this way is that it will work even if you haven’t installed Windows or failed to startup. But BIOS menus are different depending on the manufacturer, and inexperienced users can find them cumbersome. Remember, don’t change any settings unless you are 100% sure what you are doing, changing the wrong setting can disrupt system stability.
This is especially helpful for new users, advanced overclocking and system tuning as well as when running a BIOS update.
Method 4: By means of Third-Party Software Tools
The easiest, most detailed way to determine your motherboard manufacturer (and model) is to consult your user’s manual, assuming it even exists, that is. Third-party system information utilities can give you the answer with just a couple of mouse clicks.
These applications come in particularly handy when you don’t know how to use built-in Windows tools to retrieve all the available hardware information, and you need more info about your system.
You can use popular and reliable tools like CPU-Z, Speccy, or HWiNFO. There is a lot of free apps that has been recommended by PC hardware experts. Once installed, they will automatically scan your system and provide up-to-date hardware information in a well-structured and easy to read format.
For instance, CPU-Z displays information about the motherboard on its Mainboard tab: such as Motherboard Manufacturer name, Model, Chipset and Bios version.
The Speccy displays the motherboard information in nice, easy to read summary, great for beginners.
The HWiNFO delves deeper and provides more detailed technical information for those who want a deep dive into their PC.
The main benefit of such third-party tools is they are more accurate and convenient. They take the guesswork out of the equation and often offer information over and above what’s offered by Windows itself. But remember to download these from their website only to avoid unwanted software.
If you’re considering upgrades or chasing issues, third-party tools are frequently the simplest and quickest way to identify your motherboard.
Method 5: Looking on the Actual Motherboard or Packaging
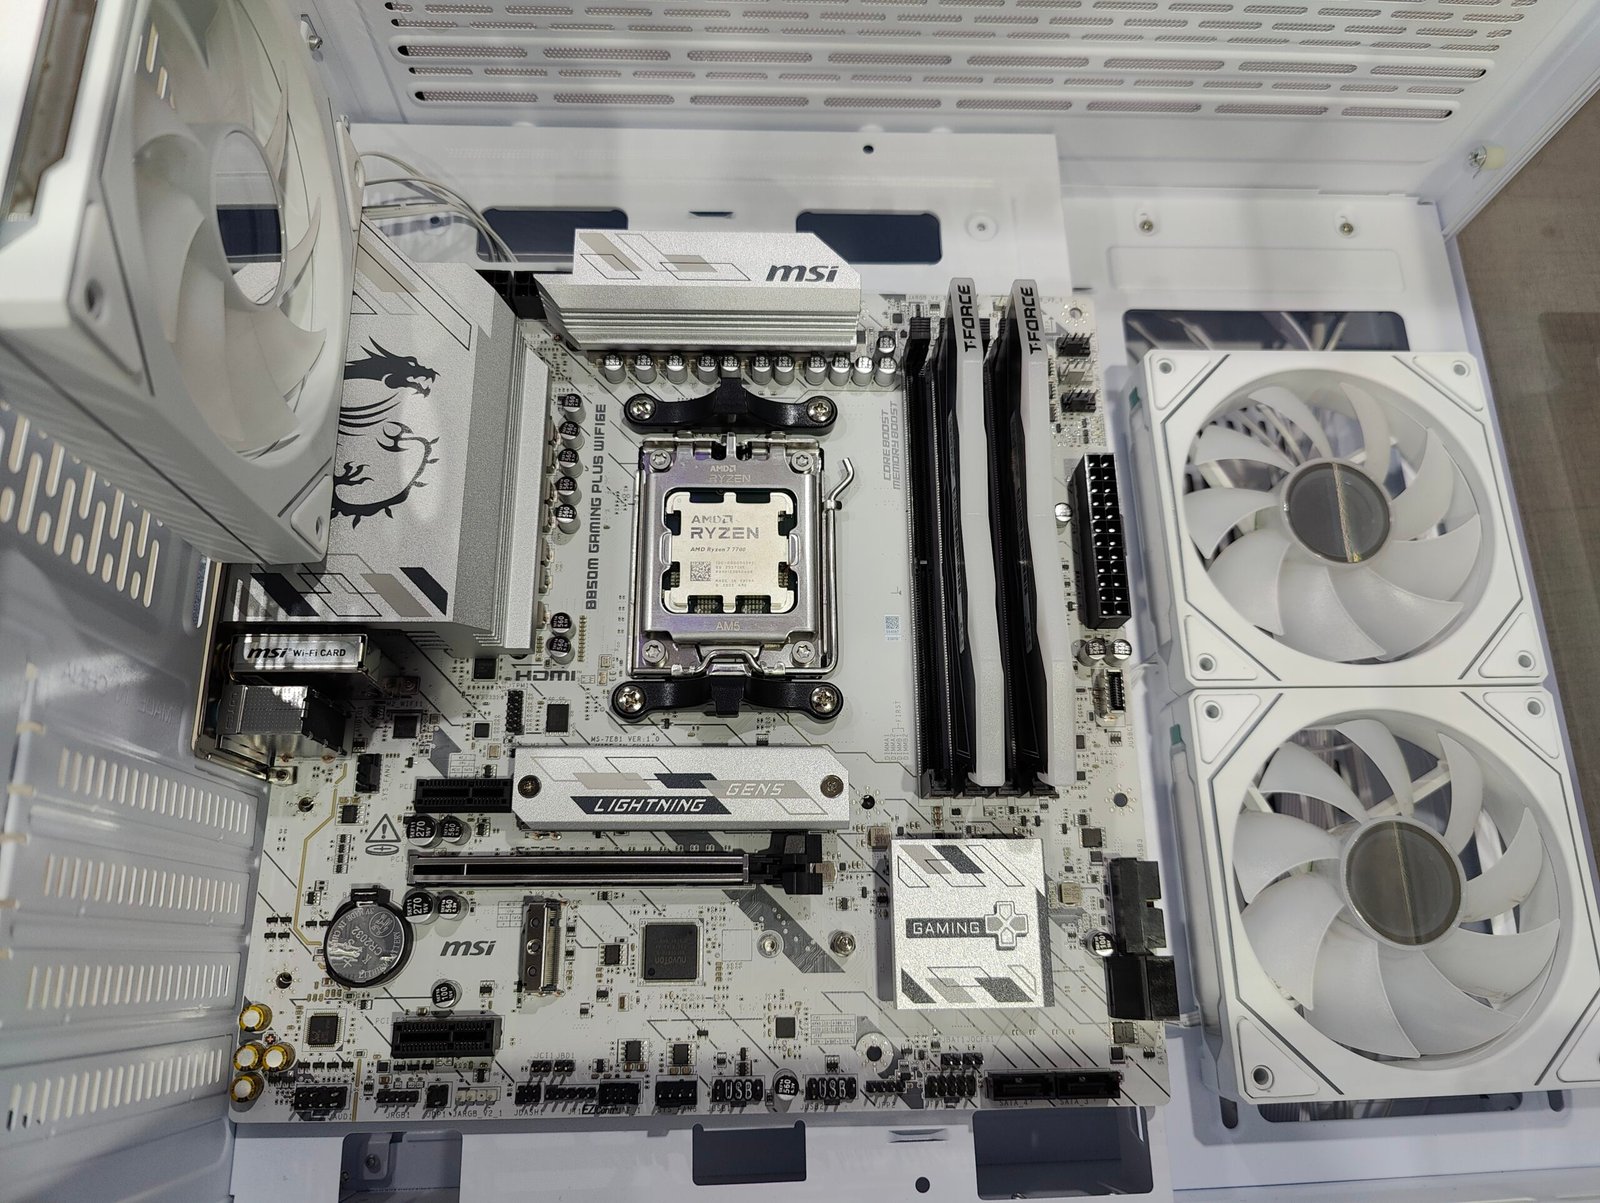
If you don’t trust software-based methods, you can open up your PC and look at the motherboard to find out for sure. On most motherboards, the model name is written on the board’s face between the PCIe slot and RAM slots or around the CPU socket.
Before you even consider opening your computer’s case, make sure it is fully powered off and unplugged. If you’re using a desktop, you will need to open it up and take the side panel off so that you can get inside body of your computer.
Another good place to look is on the original packaging or documentation that came with your PC, motherboard or laptop. The retail box, user manual and sales receipt often have the exact model number.
Although this method is still idea, it is less convenient than software solutions and isn’t suitable for laptops, in which opening internal components poses more problems. But it may sometimes become the best accurate choice when system utilities do not provide complete or well-formed information.
What to Do If Windows Tools Don’t Display Your Motherboard Model
On some systems, Windows tools don’t accurately identify your motherboard model or give you a nondescript entry like “To Be Filled By O.E.M.” This is particularly common with prebuilt PCs and laptops, manufacturers modify the firmware on these machines, locking out certain elements or tweaking information presented to the operating system.
When it does, use multiple methods instead of just one. For instance, you can use Windows System Information in combination with CMD or a reliable third-party tool like CPU-Z. Cross referencing results normally will show you the full motherboard model or at least enough to determine it’s board for sure.
Alternately you can look at the system manufacturer’s support site. Prebuilt systems from companies like Dell, HP or Lenovo typically incorporate custom motherboards. If that happens, you can look up its model number directly on the manufacturer’s website for detailed motherboard specifications even if Windows doesn’t list it.
If you still doesn’t trust in the software tools, only going at BIOS/UEFI or directly on checking the motherboard would be safe approaches. It takes more work, but you can be sure you’re getting true info that you will need for updates, upgrades and troubleshooting.
Special Cases: Laptops and Prebuilt PCs
For laptops and prebuilt PCs, identifying motherboard models may be tougher than on custom-built desktops. Manufacturers frequently use their own custom or semi-custom motherboards, so the exact model may not match something found in the typical Windows system tools.
Your laptop may not connect to the specific gaming headphone, that’s because the motherboard socket might not be compatible with it. Laptops have their motherboard that is specific to the model and not meant to be upgraded or replaced. Occasionally just the laptop manufacturer name is displayed instead of the specific model of motherboard in windows programs.
In this case, your best bet is to visit the official website of your laptop manufacturer and look up the model number of the motherboard or chipset there; however, these details can generally be listed under technical specifications or support documentation.
Prebuilt desktop PCs from companies such as Dell, HP, and Lenovo naturally stick to the same order. Frequently, these systems have custom motherboards that aren’t given retail model names.
If Windows’ built-in tools offer up only sparse info, the model number (or service tag) should at least be visible on a sticker attached somewhere on the PC, and that can be used to go online and dig up comprehensive specs of your hardware including motherboard specifics.
In such cases, knowing the system model would be more valuable than just knowing the motherboard model. BIOS updates, driver downloads and an array of compatibility information are all anchored to the system model making it the most stable reference to perform upgrades or receive support.
Why Your Motherboard Is Important for Upgrades & Support
It’s important to know your motherboard model in order to update or maintain your PC safely. Whether you’re looking to add more RAM, new CPU or install a cooler, the motherboard impact what you can do.
Motherboard details are also important when flashing the BIOS as they are model specific, using the wrong firmware could permanently break your system. This will prevent you from downloading the wrong BIOS on your system and making a huge mistake.
Not only that, motherboard drivers (those for the chipset, audio and network) are model-specific. Downloading wrong drivers can result in crashes, sluggish operation and hardware failure. Knowing what motherboard you have also enables you to download the proper drivers directly from your manufacturer’s website.
Troubleshooting Common Issues
Finding out what motherboard you have isn’t always as easy as most would expect. Here are some of the most frequent problems and how to address them:
Tools The Tool Says “Unknown” or “To Be Filled By O.E.M.”
This is common with prebuilt PCs and laptops. In these cases, cover your bases and check out the Command Prompt, BIOS/UEFI or a third-party tool like CPU-Z. Cross verification will usually show the correct information.
Software Shows Partial Information
Some tools can also only show the manufacturer, and not the model. In such a case look at BIOS/UEFI try to examine motherboard itself or pc/motherboard package/manuals.
Laptops and Prebuilt PCs
For those with a custom motherboard like Lenovo or Acer, using the generic name might not be enough. The motherboard specification page on the manufactures website will usually tell you what type of chipset it uses and that’s just about all you can glean about compatibility.
Know about these common obstacles and you will be able to boast the identity of your motherboard even when circumstances make it tough. It means that the BIOS updates, drivers, hardware are all done right without any guesswork.
Conclusion
You’ll need to know what motherboard you have if you’re upgrading, troubleshooting or adding hardware. Whether you’re using Windows tools, the Command Prompt, a visual inspection of your motherboard requires some basic computer knowledge to perform any of these procedures, multiple ways exist for checking your motherboard and existing hardware.
With the knowledge of your motherboard model, you can install appropriate hardware by downloading compatible drivers for your components will help achieve desired performance.ASUS do not recommended updating BIOS through EZ Flash. Spending a few minutes to verify this important component will lead you up a safe and solid path for most PC hardware upgrades.