Random crashes, blue screens, and system freezes often point to a problem most users overlook: faulty RAM. Since memory plays a critical role in running applications and the operating system, even small issues can destabilize your entire PC.
Testing your RAM is one of the smartest troubleshooting steps you can take when your system behaves unpredictably. In this guide, you’ll learn reliable ways to check your memory and ensure bad RAM isn’t silently crashing your PC.
What RAM Is and Why It Impacts System Stability
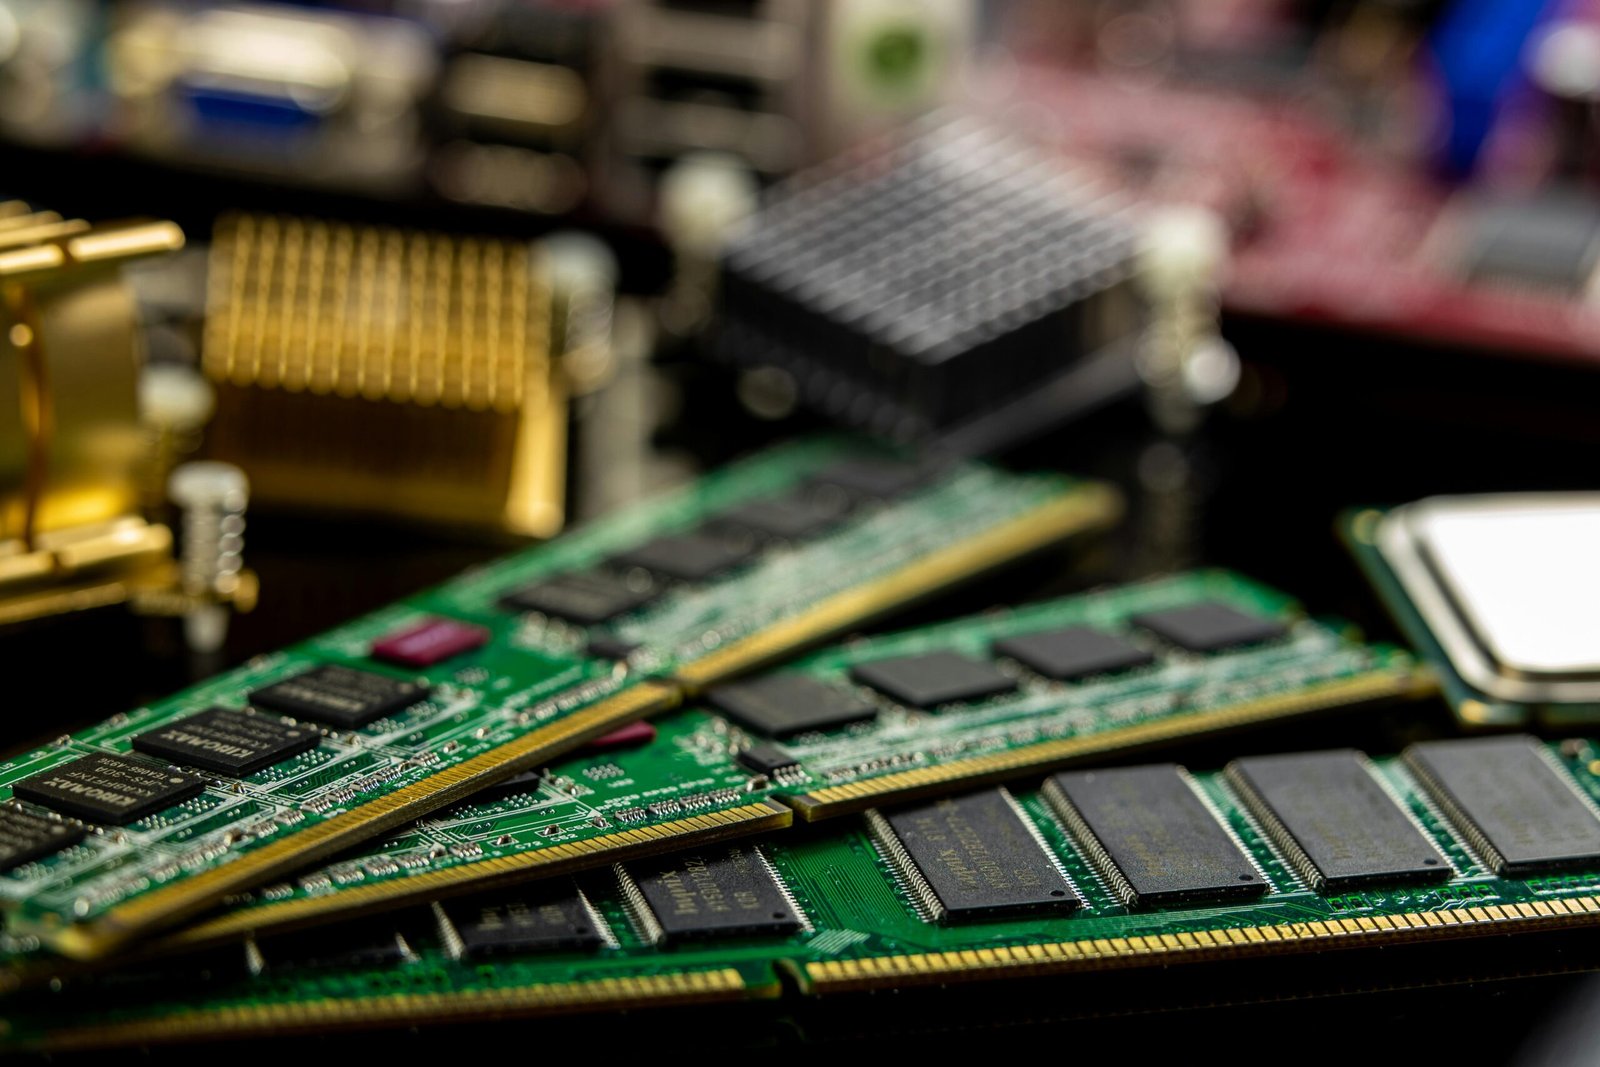
RAM (Random Access Memory) is your PC’s short-term workspace. It temporarily holds data that your operating system, applications, and background processes need to access quickly. The faster and more stable your RAM is, the smoother your system runs.
Memory problems aren’t always evident when RAM begins to fail. Since memory is continually being written to and read from, a single bit that’s gone bad can make your apps crash, files disappear or even cause crashes for Windows itself.
Unlike storage drives, RAM is not a permanent storage medium that’s why diagnosing RAM issues can be a bit more perplexing. Depending on which memory part is accessed, a PC can boot normally one minute and then crash. This randomness is one central clue that memory may be at the heart of the mystery.
Knowing what RAM does makes it easier to understand why testing it is so necessary. Hosting business applications, particularly with multiple users, the requirement for a healthy memory module is essential to a low-frustration computing experience.
Common Symptoms of Faulty RAM
Bad memory will sometimes result in errors that seem very random and hard to track. One of the most typical symptoms is frequent system crashes, particularly blue screen error code message that happen or ’random’ in nature. These crashes may also randomize a particular system file from time to time, making them difficult to troubleshoot.
One other indication of poor memory is the stability of an application. Applications might crash suddenly, freeze during everyday tasks and sometimes even refuse to open at all. You may also observe games crashing under load or creative applications going down while performing heavy tasks.
The file has been corrupted is another red flag. That can occur even if your storage drive is in fine shape.
The PC may have problems turning on, reboot randomly or fail to wake from sleep in some cases. And if these problems continue, even after you’ve tried new drivers and a fresh OS installation, it’s probably time to find out if the problem is with your RAM.
Pre-Testing Your RAM: First Checks
Before you run through the memory tests, it’s also important to troubleshoot basic problems that can seem like RAM issues. Having a fast way to do those checks can save time, and help you zero in on the real issue if they’re not enough.
To begin, make sure your UEFI or BIOS is a current version. RAM compatibility is smoothed out a lot through firmware, particularly with the newer memory kits. Even if the RAM is fine, an outdated BIOS can cause crashes.
Next, check your system temperatures. Memory may not operate at the JEDEC published clocks when the system is overclocked or otherwise exceeds the maximum clock speed available on the platform. Ensure your PC has good airflow and its fans are operating normally.
For good measure, make sure the RAM is at supported speeds/voltages. Also crashes may be caused by wrong memory settings or overclocking. Most of the time, restoring the BIOS settings to default can help you get rid of these configuration based problems.
Once that’s out of the way, you can advance to stand-alone RAM testing tools more confidently.
Using Windows Memory Diagnostic
Windows has built-in memory diagnostics to test for memory problems, which is a good place to start. It’s easy to access and doesn’t require any third-party software, so it’s perfect for fast troubleshooting.
The tool informs you to restart your PC when you launch it so that it can examine memory beyond the reach of the operating system. Upon restart the diagnostic does some multiple pass to verify that no errors are found once ram is in a controlled environment. This helps uncover typical bugs that might lead to crashes or instability.
Once the test is finished Windows starts as normal, and results are saved to system logs. And if it finds memory problems, you’ll generally see a message to the effect of hardware problems were found. Even if you do not see any warning, sometimes you will have a better understanding by inspecting the results manually.
The Windows Memory Diagnostic is a good tool but has its limitations. It could possibly still not catch intermittent or subtle memory errors that occur only under stress.
Locating and Interpreting Windows Memory Diagnostics Results
When Windows Memory Diagnostic completes its run, it doesn’t always display the results in an obvious manner on the screen. In a lot of cases, Windows will boot back to the desktop with no indication as to whether or not any problems were discovered.
If Windows notices any serious discrepancies with your memory, it might warn you shortly after startup and claim that hardware problems were detected. This is a sign that there are more issues to look into or it may be time for you purchase new RAM.
If you want more detailed information, Windows keeps the results of tests in system logs. If the report doesn’t reveal any errors, it means your RAM has passed a simple test, but that’s no guarantee every single part of your memory is free from problems.
Not to forget that Windows Memory Diagnostic is only a limited test, and random defects can still exist.
How to Test Your Computer’s Ram With Third-Party Tools
For thorough testing, you can use third-party tools such as MemTest86. Out of the ordinary window diagnostics, these tools are designed for memory testing while Windows is running under heavy load.
MemTest86 is performed via a boot disk and runs without the operating system running so not affected by any drivers. It makes multiple passes over memory using different patterns, stressing the memory to discover problems that might otherwise produce crashes or other forms of data corruption.
Result interpretation is simple: If any errors have been located, the memory module is the most probable suspect for being damaged. A single random error or two can be a fluke, but if you are consistently having errors like that it is likely time for some new memory.
There are also some third-party applications with the same capability under different programs such as MemTest86+ and even some vendor-specific utilities like Corsair Memory Test, but all of them serve basically the same functionality in slightly different guises. They are especially beneficial for overclocked systems and/or high performance memory.
With these cutting-edge testing capabilities, you can be assured that your RAM is thoroughly tested and no hidden defects are causing system instability.
Testing RAM Physically
Software tests alone sometimes are not sufficient to locate defective memory, especially when errors occur only intermittently. If you physically test your RAM sticks, then this could help pin down your problem.
Power off the PC, unplug it and gently remove all modules. Check for dirt or foreign objects on the contacts and reinsert them into their slots. Memory errors could help cause those loose connections.
If it doesn’t work, try one at a time if you have another memory stick lying around. Remove all but one stick of RAM and see if your PC boots. Do this with all six sticks to narrow down which one is failing. This technique assists you to identify the defective DIMMs without replacing total memory, unless it is actually needed.
Another solution is to place the RAM in other slot. A poor slot may also result in the same symptoms as a bad module. Rearranging the sticks can determine if it is a problem with the ram, or with your motherboard.
Lastly, if available, try known-good RAM in the suspected system. If the errors still occur on a new system, assume that you have contacted specialised technical support in time to fix these issues: The module is almost certainly defective and needs to be replaced.
Making Sense of Test Results & What They Mean
After testing, interpreting the results is important for further actions. A successful pass with no errors generally means your RAM has passed and is likely working fine, at least in a hardware sense.
A single or intermittent mistake could indicate a less than major problem. These can be caused by excessive heat, or even slight overclocking. Monitoring the system under typical load can assist you in determining if intervention is required.
If you receive the same errors as above, the RAM module may be malfunctioning. In this situation, the best and easiest solution is to replace the affected stick. If you persist in using the bad RAM, data corruption will result and you’ll continue to get crashes.
If you understand the test results, then you can take appropriate action to fix whatever ails your RAM, whether it’s adjusting settings, reseating a faulty module, or swapping in known-good memory.
What To Do When W Test Fails the RAM
The moment you receive a diagnostic test that is not passed by your RAM, it is important to act fast in order to avoid losing data and further instability of the system. It first has to pull all important files, since corrupt memory can damage the data in unpredictable ways.
Next, eliminate the offending module: try testing each stick by itself. Leave one stick in your system, take out the other ones, and run diagnostics again to see which stick is faulty. Once found, replace the faulty RAM with a compatible one.
If you can then check your RAM to see if it’s still under warranty. Some manufacturers offer replacements for faulty modules, like Corsair, Kingston and Crucial. Follow their instructions and you’ll make a smooth warranty claim.
If everything works, use the checksum again as one last test for the new RAM. This confirms that your system is stable, and from now on you should not have any crashes due to the memory.
How To Prevent Future RAM Issues
It’s often easier to avoid RAM problems than it is to fix them. One of the precautions you need to take is to be extra careful with memory modules.
Airflow and cooling are also important. RAM instability under high temperatures, particularly when RAM is overclocked. Check if your PC case has proper ventilation and fans are working fine.
Finally, you can also keep up with your BIOS and drivers. Firmware updates can provide improved memory compatibility and stability, which in turn can resolve crashes or errors without any hardware changes.
Scheduled maintenance, along with being gentle on your RAM will go a long way to ensuring stable and long lived RAM performance.
Common Misdiagnoses and Mistakes to Avoid
RAM problems are frequently misinterpreted for those of other hardware or software problems, resulting in unnecessary repairs or replacements. A common problem too is blaming a CPU or GPU for crashes and not testing your memory first.
Another common mistake is missing BIOS or driver updates. Incompatible memory timings or firmware can imitate signs of bad memory, so always eliminate the software side before replacing modules.
Some memory errors do not show up unless the system is heavily loaded, or have a very long time to occur, you may sometimes get the wrong impression. Long-term testing is necessary for diagnosis.
AM Testing Checklist
A structured checklist guarantees that no step is missed in the diagnosis of the memory complaint. A consistent process simplifies the troubleshooting and eliminates excess replacement.
Watch for Symptoms: Keep an eye out for crashes, freezes, BSODs or even corrupted files.
Check BIOS & Drivers: Update the firmware (Bios) and memory settings to default values.
Run Windows Memory Diagnostic: Run a standard scan and check the logs.
Try Advanced Tools: Use MemTest86 or the manufacturer’s diagnostics for full system checks.
Hardware: Reseat RAM, check stick by stick to see if one goes bad, try different slots.
Interpret Results: Distinguish between random and systematic / systematic intermittent errors.
Conclusion
It is very important to test your RAM, as avoiding that may cause system crash and data loss. Thankfully, with the help of some built-in tools that come with Windows as well as software, it’s possible to do a bit of detective work and figure out whether or not your memory is at fault.
Take proactive measures, monitor symptoms, and perform complete tests in order to ensure system stability and prevent irreparable damage. With a dose of regular testing and proper care, your PC will operate efficiently and dependably for years.
Frequently Asked Questions (FAQs)
- How do I know if my RAM is failing?
Frequent crashes, blue screens, random restarts, and file corruption are common signs of faulty RAM.
- Can Windows detect bad RAM?
Yes, Windows Memory Diagnostic can identify many RAM issues, but advanced or intermittent errors may require third-party tools.
- How long should I run a RAM test?
For basic checks, a single pass may suffice, but extended testing (several hours) with tools like MemTest86 is recommended for reliable results.
- Can reseating RAM fix crashes?
Yes, removing and reinserting RAM modules can resolve connectivity issues or loose contacts that mimic memory faults.
- What should I do if RAM fails a test?
Back up your data, identify the faulty module, and replace it. Check warranties if applicable for a free replacement.